Document pane
When you create a new or open an existing document, the document pane opens on the right side of the PLA 3.0 main window. This pane is your main area when working with documents.

-
Header
-
Details
-
Action bar
Header
The header shows the name of the document. Below the document name, a breadcrumb navigation displays the location of the document in your folder tree, its document key, revision number, and document type.
You can also depict the document type by the icon on the right side of the header.
Details
The details area is your flexible workspace for interacting with documents—either in an editor area or on the document dashboard. Its content depends on how you open the document pane. For new documents, the editor area displays the Content editor, ready for you to set up your document. When switching between editors, the selected editor appears. For existing documents, the details area shows the document dashboard.
PLA 3.0 displays each document on a separate tab, with the document name and document key as the tab title. You can open several document tabs at a time and switch between them.
Action bar
Use the action bar on the left side of the document pane to access the editors and the dashboard and perform actions on your documents.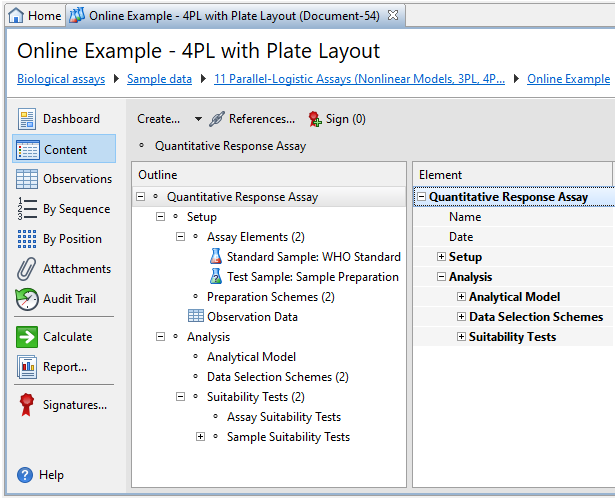
The content of the action bar depends on the document type and the setup of the document. The upper part provides links to the Dashboard of the document, the Content editor, the data editors, the Attachments view, and the document-specific audit trail.
Use the lower part to perform document type-specific actions such as calculating a document or applying an electronic signature. The available actions depend on the document type. For more details, see the Document actions topic.