Create a PQ definition document
Create a PQ definition document with the dataset you want to use for verification.
About this task
Procedure
To create a PQ definition document:
- Open the assay document that contains the dataset you want to use.
-
On the Validation menu, select
 Save as PQ Definition.
-
Select the folder in the Navigator where you want to
save the PQ definition document and click OK.
Tip:The folder you select here is used when you export the PQ definition document as a PQ package. We recommend using a separate folder for PQ definition documents only.Results: A PQ definition document is created and opened in the Content editor. In the Navigator, you can identify this document type by a blue square in the upper right corner of the document icon. In the following example, Quantitative response assay documents were used to create PQ definition documents:
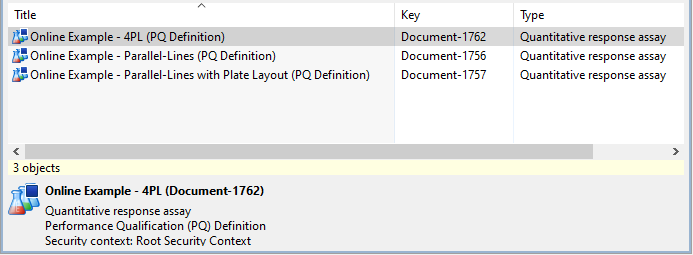
Figure 1. PQ definition documents in the detail view of the Navigator -
Calculate the PQ definition document: On the action bar, select
 Calculate.
- Verify that the result of the calculation performed by PLA 3.0 is consistent with the results of the original assay.