Work with Equipment documents
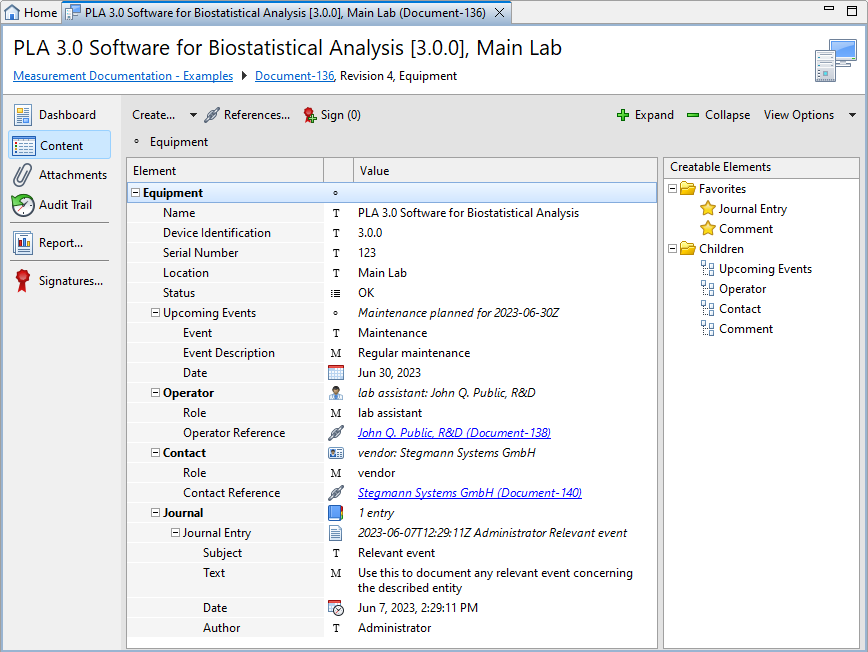
Use the Content editor to add and edit data about the equipment involved in the measurement process and create links to other documents.
Elements and their function

Use the Creatable Elements pane to add the elements you require. To edit an existing entry, double-click the element in the Element pane.
|
Element |
Description |
Specification |
Wiki notation available |
|---|---|---|---|
|
Name |
The name of the equipment. |
required |
no |
|
Device identification |
The device identification of the equipment. |
optional |
no |
|
Serial number |
The serial number of the equipment. |
optional |
no |
|
Location |
The exact location of the equipment (for example, room number). |
required |
no |
|
Status |
The status of the equipment (choose between OK, retired, maintenance required, validation required). |
optional |
no |
|
Upcoming events |
Upcoming events for this equipment (for example, calibration, maintenance, validation) with event name, description and date. |
optional |
yes |
|
Operator |
Operators and their roles for the equipment. You can link an existing operator or create an operator document. |
optional |
no |
|
Contact |
Further contacts and their role for the equipment. You can create a link to a contact document. |
optional |
no |
|
Journal |
The journal for this equipment. Each journal entry can contain a subject, text, date and author. Date and author are required. You can create several journal entries. |
optional |
yes |
